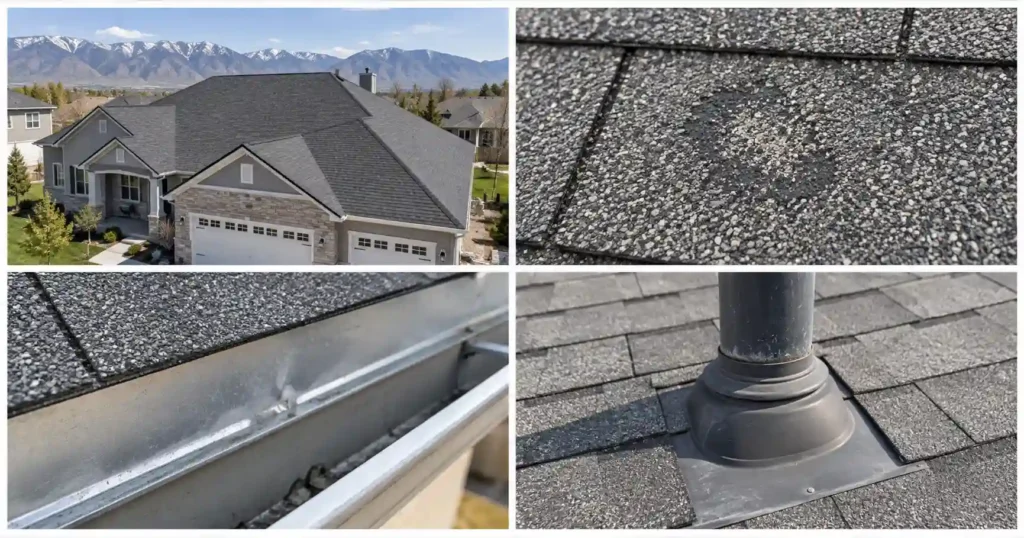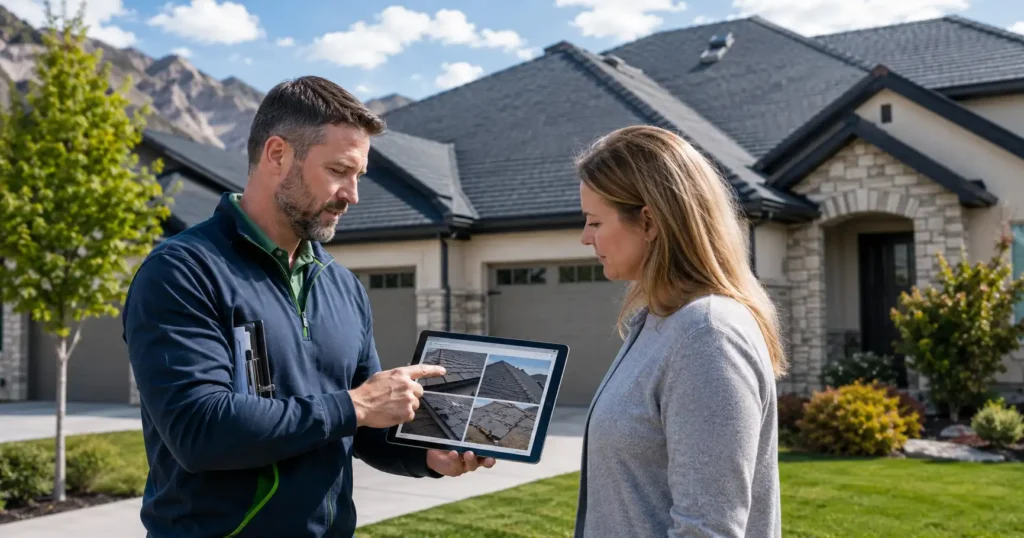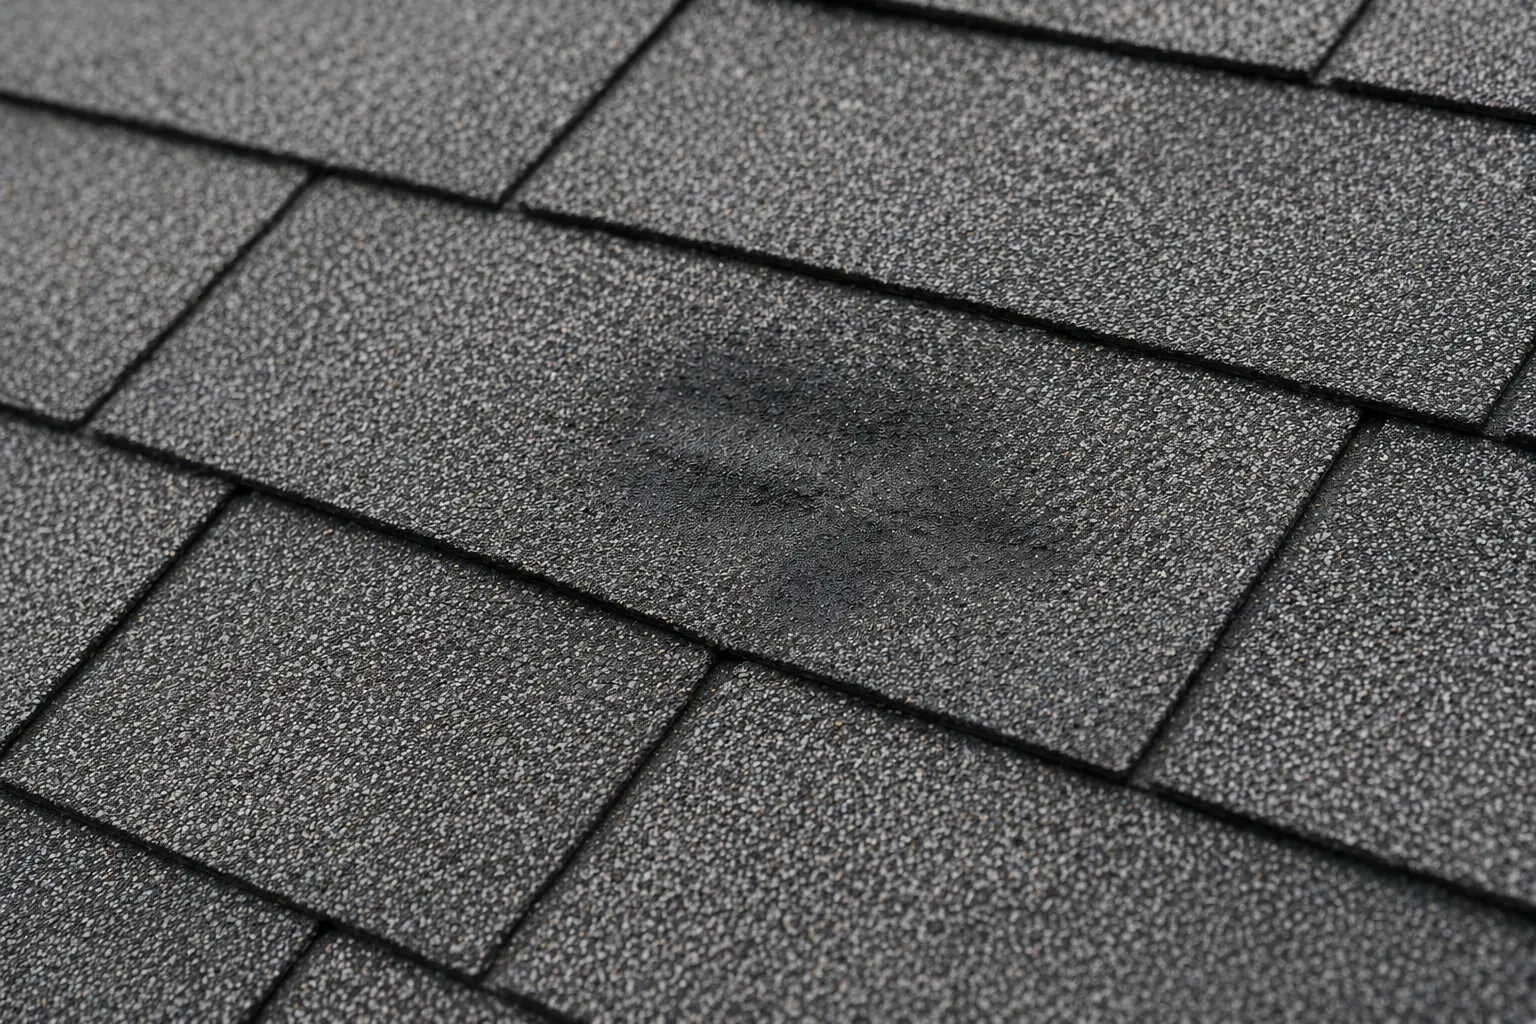
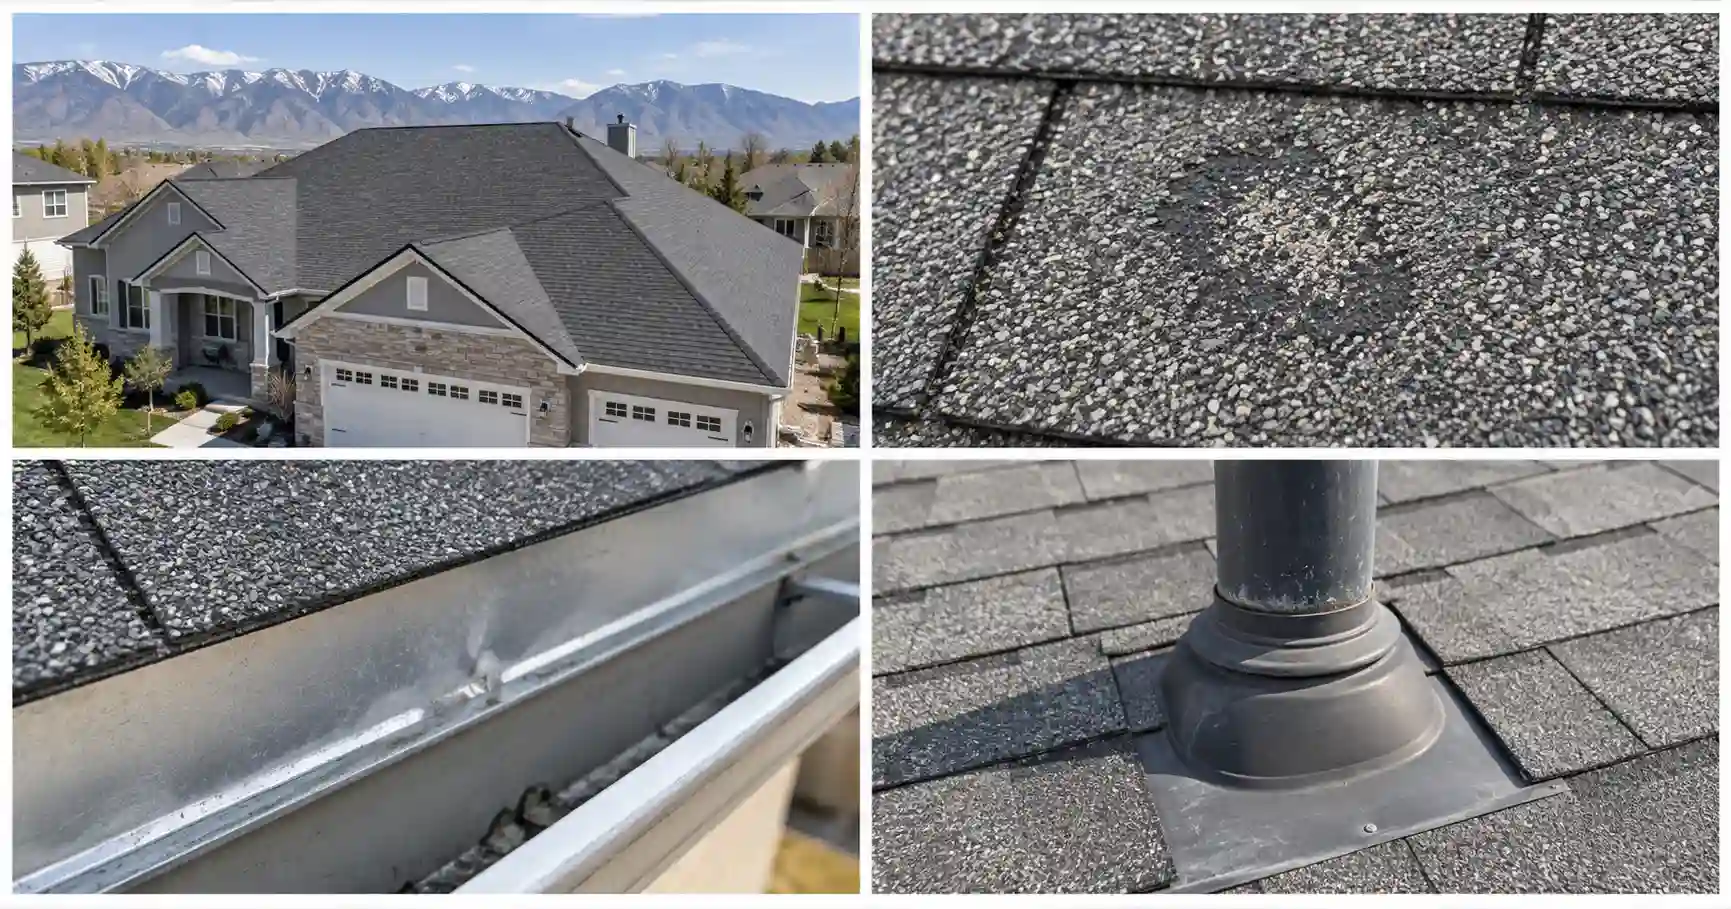
A roofer sends you a few roof inspection photos. You can see cracked shingles, lifted edges, worn flashing, missing granules, a damaged pipe boot, or a close-up of something that definitely does not look right.
But then comes the harder question:
What does this actually prove?
That is where many homeowners feel stuck. You can look at the photo and know something was found, but you may not know whether it is serious, repairable, storm-related, age-related, or part of a larger roof problem.
One close-up photo can make a small issue look dramatic. On the other hand, a photo that looks minor may point to a bigger problem if the same issue shows up across several areas of the roof.
That is why roof inspection photos should not be used to scare you. They should help you understand what was found, where it was found, and whether the recommendation matches the actual condition of the roof.
A good inspection photo should not leave you thinking, “I guess I just have to trust them.”
It should help you say, “Now I understand what they found and why they are recommending that next step.”
Quick Answer: How Do You Read Roof Inspection Photos?
To read roof inspection photos, look for three things: location, context, and pattern.
Location tells you where the photo was taken. Context shows what is around the problem area. Pattern tells you whether the issue appears in one spot or across multiple parts of the roof.
A close-up photo can show detail, but it does not always show severity. The most helpful roof inspection photos include both close-ups and wider photos so you can understand whether the issue is isolated, repeated, repairable, or part of a larger roof condition.
A good photo set should help answer:
- What part of the roof am I looking at?
- What exactly is the concern?
- Is this one damaged area or a pattern?
- Does this suggest repair, replacement, maintenance, monitoring, or insurance documentation?
- What happens if I wait?
If the photos do not answer those questions clearly, it is fair to ask for a better explanation.
What Good Roof Inspection Photos Should Show
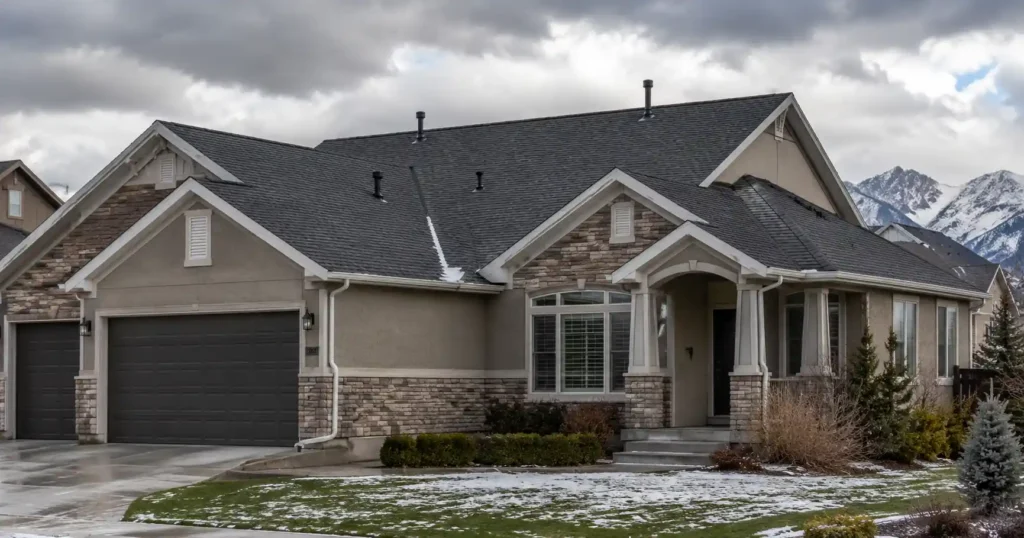
A useful roof inspection photo set should feel organized, not random.
You should not receive a folder of close-ups with no explanation and no idea where each photo came from. If a roofer is making a recommendation, the photos should help you understand the reasoning behind it.
A good roof inspection photo set may include:
- Overall roof views
- Photos of each inspected slope or roof section
- Close-ups of specific concerns
- Wider photos showing where each close-up was taken
- Photos of vents, pipe boots, flashing, valleys, ridges, gutters, chimneys, or skylights when relevant
- Interior or attic photos if there are leak concerns
- Photos showing whether the issue is isolated or repeated
- A plain-language explanation of what each concern means
That last point matters.
A photo tells you what the roofer saw. The explanation tells you what it means.
If you want a broader look at what should happen during the inspection itself, CTI Roofing has a related guide on what an honest roof inspection should actually include.
Start With Where the Photo Was Taken
Before you focus on the damage, ask where the photo was taken.
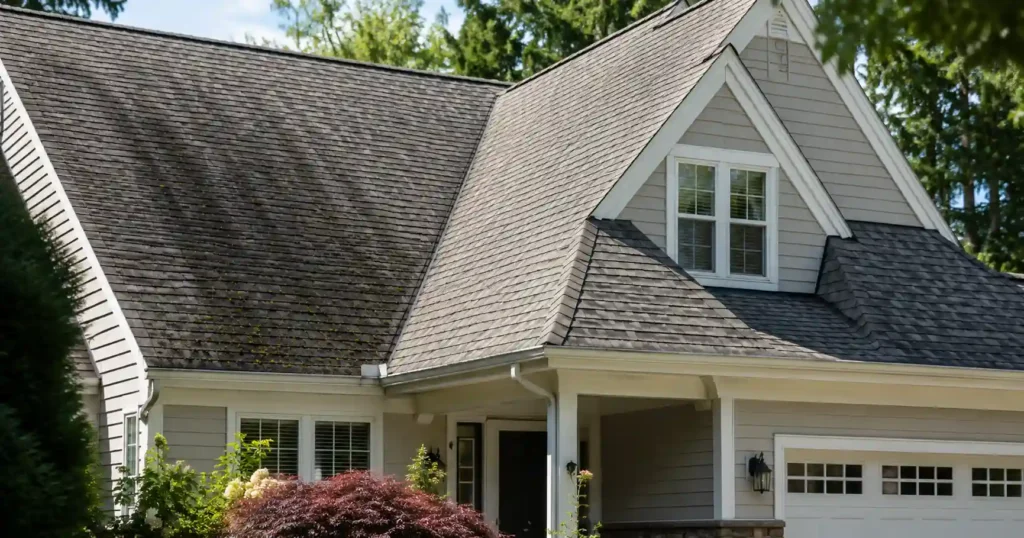
Was it on the front slope, back slope, garage, valley, ridge, chimney area, vent area, or an older section of the roof? Was it near a tree, a north-facing slope, a high-wind area, or a place where water naturally drains?
Location can change the meaning of a photo.
A cracked pipe boot around one plumbing vent may be a focused repair. Damaged flashing around a chimney may be localized, but it can still create a leak path if water is getting behind the roofing materials. Granule loss in one high-traffic area may mean something different than granule loss across several slopes.
A helpful roofer should be able to show you the location, not just the close-up.
A simple question to ask is:
“Where exactly was this photo taken, and can you show me a wider photo of that area?”
That question is not confrontational. It is practical.
Look for Context, Not Just Close-Ups
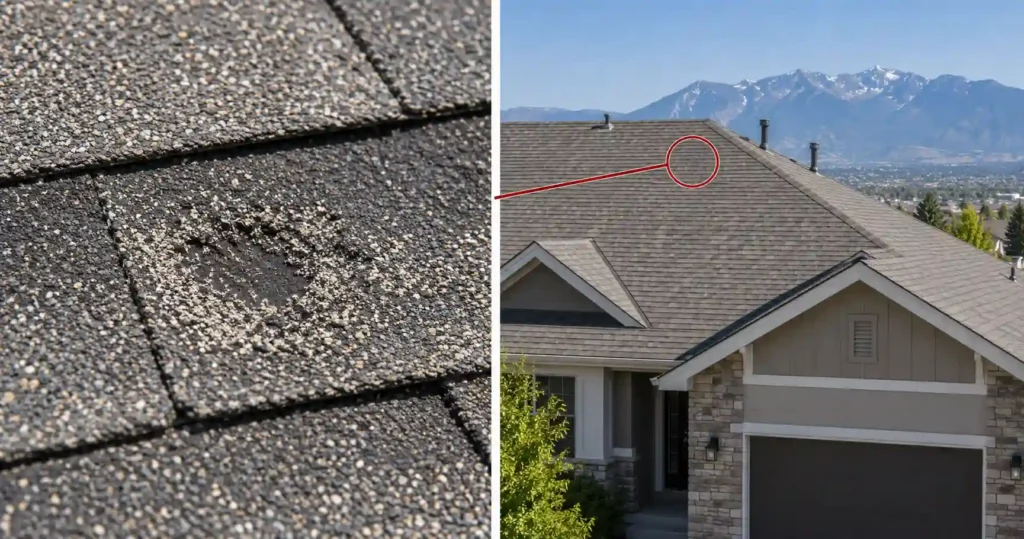
Close-up photos are useful because they show detail. They can reveal cracks, bruising, exposed fasteners, lifted edges, worn sealant, torn shingles, punctures, or damaged flashing.
But close-ups can also be misleading when they are shown by themselves.
A close-up of one damaged shingle may look serious because the camera is only a few inches away. Without a wider photo, you cannot tell whether that damage affects one shingle, one small area, one slope, or the entire roof.
That is why every close-up should have context.
The wider photo helps you see:
- Where the damage is located
- Whether nearby shingles look similar
- Whether the issue is near a vent, wall, chimney, or valley
- Whether the surrounding roof looks healthy or worn
- Whether the problem appears isolated or part of a bigger pattern
If you are only shown close-ups, ask:
“Can you show me what this looks like from farther back?”
The wider view often makes the recommendation easier to understand.
Look for the Difference Between One Spot and a Pattern
This is one of the most important parts of reading roof inspection photos.
One photo does not automatically mean the whole roof is failing. What matters is whether the roofer found the same type of issue in multiple places.
A pattern may include:
- Cracked shingles across several slopes
- Missing granules in many areas
- Multiple lifted or creased shingles
- Repeated hail marks on shingles, vents, gutters, or soft metals
- Several worn pipe boots
- Flashing concerns around more than one roof transition
- Repeated signs of water entry inside the attic
- Soft or damaged decking in more than one area
If the issue appears in one location, the conversation should usually include whether a repair is possible.
If the issue appears across the roof, the conversation may shift toward replacement, storm documentation, or a more complete evaluation.
The key question is:
“Is this an isolated issue, or did you find the same condition in several areas?”
That one question can help separate a small repair from a larger roofing decision.
What Roof Inspection Photos Cannot Tell You by Themselves
Roof inspection photos are important, but they do not always tell the full story by themselves.
A photo may show visible damage, but it may not fully explain:
- The age of the roof
- Whether the shingles are brittle
- Whether a repair will hold
- Whether ventilation is contributing to the issue
- Whether water has reached the decking
- Whether the same problem appears on multiple slopes
- Whether the damage is cosmetic or functional
- Whether the issue is storm-related, age-related, installation-related, or maintenance-related
That does not mean photos are not useful. It means the photos should be paired with an explanation.
For example, the National Roofing Contractors Association notes that roof inspections can reveal problems such as cracked, warped, or missing shingles, deteriorated flashing, and excessive granules in gutters or downspouts. Those are useful visual clues, but a homeowner still needs a roofer to explain what those clues mean for that specific roof.
A close-up photo may show damage.
A good inspection explains whether that damage is small, serious, urgent, repairable, or part of a larger pattern.
Common Roof Inspection Photos and What They May Mean
You do not need to become a roofing expert to understand your inspection photos. But it helps to know what some common photos are usually trying to show.
Missing or Damaged Shingles
A photo of missing, torn, cracked, curled, or lifted shingles may point to wind damage, aging materials, installation concerns, or an area that needs repair.
The question is not just “Is a shingle damaged?”
The better question is:
“How many shingles are affected, and what condition are the surrounding shingles in?”
One damaged shingle may be repairable. Several damaged shingles across different slopes may suggest a wider issue.
For more context on repairable roof issues, see CTI Roofing’s roof repair services.
Granule Loss
Granules are the gritty surface on asphalt shingles. They help protect the shingle from sunlight and weather.
Photos of granule loss may show bare-looking patches on shingles or granules collecting in gutters and downspouts.
Some granule loss can happen over time. Heavy or widespread granule loss may point to aging shingles, storm impact, or roof wear.
When reviewing granule-loss photos, ask:
“Is this limited to one area, or are you seeing it across the roof?”
That distinction matters.
Pipe Boots and Roof Vents
Pipe boots are the flashing components around plumbing vent pipes. They are common leak points because rubber can dry out, crack, or separate over time.
A cracked pipe boot does not usually mean the entire roof needs to be replaced. In many cases, it may be a focused repair.
But the roofer should still explain whether this is the only failing component or whether multiple vents and roof penetrations show wear.
Flashing Around Chimneys, Walls, and Valleys
Flashing helps direct water away from vulnerable roof transitions. Inspection photos may show rust, gaps, lifted metal, cracked sealant, missing pieces, or places where water could get behind the roofing materials.
Flashing matters because many roof leaks happen at transitions, not in the open field of the roof.
A flashing issue may be localized. It may also connect to a larger roof problem if the surrounding materials are worn or improperly installed.
Ask:
“Can this flashing area be repaired, or is it tied to a bigger roof condition?”
Hail or Impact Marks
Hail photos can be difficult to read as a homeowner.
A dark spot, dent, bruise, or mark on a shingle does not automatically tell you whether the roof has claim-worthy damage. A roofer should be looking for a pattern of damage, not just one mark.
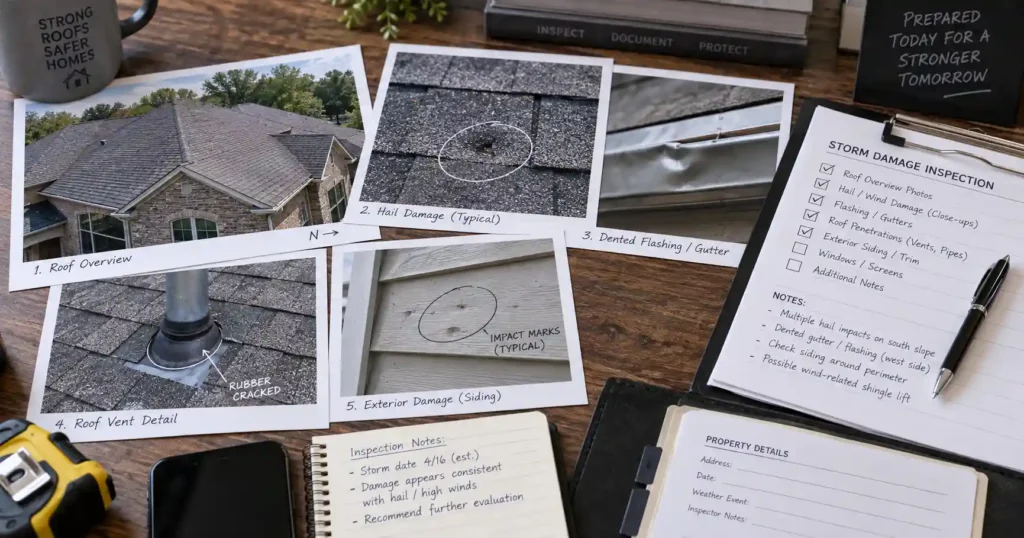
Helpful hail documentation may include photos of shingles, vents, gutters, downspouts, flashing, and other roof components. If insurance may be involved, the documentation should be clear and organized.
For a deeper storm-specific guide, see CTI Roofing’s article on hail damage roof inspections and what insurance adjusters look for.
Exposed Nails or Fasteners
Exposed fasteners can become leak points when they are placed incorrectly, left unsealed, or the sealant around them begins to fail.
A photo of one exposed fastener may support a small repair. Repeated exposed fasteners may point to a workmanship or installation pattern that needs more attention.
Ask whether the issue is occasional or repeated.
Soft, Sagging, or Damaged Decking
Decking is the wood surface under the roofing materials. Photos of soft spots, sagging areas, stained plywood, or daylight coming through the roof can point to deeper moisture or structural concerns.
These photos need careful explanation because the cause may not always be obvious from the roof surface alone.
Moisture may come from a roof leak, but attic ventilation, condensation, bathroom vents, previous repairs, or other factors may also need to be considered.
Ask Whether the Photo Shows Cosmetic or Functional Damage
Not all roof damage carries the same level of concern.
Some damage is mostly cosmetic. Other damage affects the roof’s ability to shed water and protect the home.
Functional concerns are usually more important because they can lead to leaks, moisture intrusion, or faster deterioration.
A scuff, surface mark, stain, or discoloration may not require major work. But a missing shingle, cracked pipe boot, open flashing gap, exposed underlayment, puncture, active leak path, or damaged roof penetration may need more attention.
The important question is not:
“Does this look bad?”
The better question is:
“Does this affect the roof’s ability to keep water out?”
Ask the roofer:
“Is this cosmetic, or does it affect how the roof performs?”
Ask Whether the Damage Is Repairable
This is one of the most important questions you can ask after reviewing roof inspection photos.
Sometimes replacement is the right recommendation. If the roof is old, brittle, heavily worn, storm-damaged across multiple areas, or failing in several places, repairs may only buy a little time.
But sometimes a repair is enough.
A clear inspection should separate:
- What can be repaired
- What should be monitored
- What may require replacement
- What needs more documentation
- What is urgent
- What is not urgent yet
If the roofer skips straight to replacement, ask why repair is not the right option.
A good answer should refer back to the photos, the roof’s age, the number of problem areas, the condition of surrounding materials, and the risk of future leaks.
Ask:
“Is there a repair option here, and if not, what in the photos shows that repair would not be enough?”
If the issue looks bigger than a simple repair, CTI’s roof replacement page can help explain what a full replacement involves.
Red Flags When a Roofer Shows You Inspection Photos
Most roofers use photos to help homeowners understand the condition of the roof. That is a good thing.
But photos can also be used poorly.
Be cautious if:
- You only see close-ups with no wider roof context
- The roofer cannot tell you where the photo was taken
- One photo is used to justify replacing the entire roof
- You are not told whether repair is an option
- The explanation feels rushed
- The recommendation feels pressure-based
- You are asked to make a major decision before understanding the evidence
- Insurance is brought up before the damage is clearly explained
- The roofer makes every issue sound urgent
- You are not given the findings in writing
None of those things automatically mean the recommendation is wrong. But they do mean you may need more information before saying yes.
If the recommendation feels unclear, CTI’s guide on getting a second opinion before replacing your roof is a helpful next read.
When Photos May Support a Roof Repair
Roof inspection photos may support a repair when the problem is localized and the surrounding roof is still in workable condition.
Examples may include:
- One damaged pipe boot
- A few missing shingles
- A small flashing gap
- A localized leak source
- A small area of wind damage
- One damaged vent or roof penetration
- A previous repair area that needs correction
A repair recommendation should explain what will be fixed, why that repair is expected to solve the issue, and whether anything else should be watched over time.
The roofer should also explain whether the surrounding shingles can handle the repair. On some older roofs, shingles become brittle enough that even a small repair may be difficult to perform cleanly.
That does not automatically mean replacement is required, but it should be part of the explanation.
When Photos May Support Roof Replacement
Roof inspection photos may support replacement when they show widespread deterioration or repeated failures across the roof.
Replacement may make sense when photos show:
- Cracking across multiple slopes
- Heavy granule loss across the roof
- Multiple lifted, creased, or missing shingles
- Repeated leaks in different areas
- Widespread storm damage
- Brittle shingles that may not tolerate repair
- Decking issues
- Several failing roof components
- Previous repairs that are no longer solving the problem
The key word is widespread.
A full replacement should not be based on one dramatic close-up alone. It should be based on the overall condition of the roof and whether repair would reasonably solve the problem.
For homeowners unsure whether a visible issue is as serious as it looks, CTI also has a related article on roof problems that look worse than they are.
When Photos May Support an Insurance Claim Conversation
If the inspection photos show possible storm damage, they may become part of an insurance claim conversation.
That does not mean every storm mark automatically justifies a claim.
The photos should help document what was found, where it was found, and whether there is a pattern of damage. For hail or wind concerns, a roofer may document shingles, vents, gutters, downspouts, flashing, and other roof components.
If insurance is involved, clarity matters even more. You want the documentation to be specific, organized, and easy to understand.
The Utah Insurance Department advises homeowners to take photos or video of damage and to ask the insurance company what documents, forms, and data are needed when filing a claim. That is one reason roof inspection photos can be so valuable after a storm.
If you are deciding between a claim and an out-of-pocket repair, CTI’s article on roof insurance claims versus roof repairs can help you think through the next step.
The Best Question to Ask: What Does This Photo Prove?
When a roofer shows you an inspection photo, try asking:
“What does this photo prove?”
That question brings the conversation back to evidence.
A helpful answer may sound like:
“This shows one cracked pipe boot. The surrounding shingles look serviceable, so this appears to be a focused repair.”
Or:
“This shows the same granule loss pattern we found across several slopes. That is why we are concerned about the overall age and condition of the roof.”
Or:
“This mark alone does not tell the whole story, but when we compare it with the dents on the vents and gutters, it may support a storm damage review.”
Those explanations are useful because they connect the photo to the recommendation.
That is what you want.
Not pressure. Not vague claims. Not “trust me.”
Clear evidence.
Simple Questions to Ask After Reviewing Roof Inspection Photos
You do not need technical roofing knowledge to ask smart questions.
Use these:
Where was this photo taken?
Ask for the roof section, slope, or nearby feature.
Can you show me a wider photo?
A wider view helps you understand the location and surrounding condition.
Is this one spot or a pattern?
This helps separate a localized repair from a larger roof concern.
What does this photo prove?
The roofer should be able to explain the significance in plain language.
Is this cosmetic or functional damage?
This helps you understand whether the issue affects roof performance.
Is there a repair option?
If the answer is no, ask what makes replacement the better recommendation.
What happens if I wait?
This gives you a realistic sense of urgency without panic.
Is this storm-related, age-related, installation-related, or maintenance-related?
The cause matters, especially if insurance is being discussed.
What If the Photos Still Do Not Make Sense?
Ask for a better explanation.
That is not being difficult. That is being responsible.
You do not need to know every roofing term. You do not need to climb on the roof. You do not need to diagnose the entire roofing system yourself.
But you should be able to understand the basic reason behind the recommendation.
A roofer should be willing to explain what the photos show without making you feel rushed, embarrassed, or pressured.
If the recommendation is fair, the explanation should make it clearer.
Clarity Matters More Than a Dramatic Photo
Roof inspection photos should help you understand your roof, not overwhelm you.
The goal is not to make every homeowner a roofing expert. The goal is to help you ask better questions before agreeing to a repair, replacement, or insurance-related next step.
You deserve to know:
- What was found
- Where it was found
- Whether it is isolated or widespread
- Whether repair is an option
- Whether replacement makes sense
- Whether the issue should be monitored
- Whether insurance documentation may be needed
- What happens if you wait
That is the difference between being shown a photo and being given real guidance.
Still Not Sure What Your Roof Inspection Photos Mean?
If you have roof inspection photos but the recommendation still feels unclear, CTI Roofing can help you understand what you are looking at.
Our team can inspect your roof, review the findings, and explain whether the issue appears isolated or widespread. If a repair makes sense, we will tell you. If replacement should be considered, we will explain why. If the roof can be monitored for now, we will walk you through what to watch for.
You can also learn more about CTI’s free roof inspections or our digital roof inspection service.
No pressure. No obligation. Just an honest explanation before you make a roofing decision.